.jpeg)


What is Python SDK?
Our Python system development kit (SDK) helps Python developers more easily utilize and integrate external tool suites into their own Python code. In this context, Python SDK provides an interface to manage your MLOps pipeline in Nexus through Python code. To learn more about Python SDK, check out our introductory article.
How can Python SDK be Useful in Your MLOps Pipeline?
Datature’s Nexus offers a convenient solution for users with diverse backgrounds and skills to navigate through the complex and technical process of building an MLOps pipeline without writing a single line of code. However, some users may prefer to simplify the integration of Nexus resources and assets into their current code setup without the need to access the platform directly.
By using Python SDK, developers can leverage the power and flexibility of Nexus in the comfort of their current development environment. It also allows for scalability and efficiency through the automation of mundane tasks such as uploading assets over multiple batches.
Furthermore, Python SDK allows users to construct an active learning pipeline to improve training data by performing image selection or image filtering. Improving the dataset quality usually correlates to more effective model training and performance benefits in your pipeline. To gain a more in-depth understanding on active learning and to learn more on how it is implemented in Nexus, do check out our Active Learning article.
How to Implement an End-to-End Active Learning Pipeline with Python SDK
This guide assumes that you already have a model trained on Nexus that can make reliable predictions with sufficiently high confidence. If you are starting out on our platform and wish to train your very first model, do check out our Demo Video.
The intention of this guide is simply to showcase how the various Python SDK functions can be applied in an MLOps pipeline. To keep it concise, there will be certain constants and helper functions that will not be shown in full. For a working demo of the active learning pipeline, do check out the full notebook.
Installation
To get started with Python SDK, simply install the PyPI package in your favourite virtual environment.
Project Setup
To gain access to your project, you will first need to set the Secret Key. Do note that you will need to be the project owner to access the secret key. Please ensure that your secret key is stored securely, as anyone with the key will be able to irreversibly modify your project.
To check that the correct project has been connected, you can retrieve the project to view its metadata, such as the project name.
Export Artifact
You can obtain the details of all artifacts in your project and choose one based on the name or timestamp among other variables. You will need the artifact ID to select a model format for deployment. For this guide, we convert our artifact, a model trained to detect blood cells, into the ONNX format. This will be used in the next step where we will deploy the model to our Inference API.
Once the ONNX model has been successfully exported, we can save the model ID to be used for deployment.
Create Deployment
Once we have the model ID, we can create a deployment instance.
The SDK provides a function to periodically poll for the status of the creation, and we print an output once the deployment has been successful. This may take a few minutes, so you can grab a cup of coffee in the meantime!
Please note that multiple deployment instances can be created with the same name and model ID, and unintentionally running the deployment creation code block multiple times may result in multiple deployments with the same name and model ID. If you would like to delete a deployment, you can do so in the API Management page.
Once the deployment has been successfully created, we can obtain the API URL. This is the endpoint where we will send inference requests to.
Send Inference API Call
Before we perform inference, we first need to generate a payload that contains our image data and the necessary request headers.
Then, we can send a POST request to the API URL endpoint obtained earlier, where our deployed model will automatically run inference on our image and send back the prediction results (truncated for brevity).
The prediction results look fine on the surface, but we can make use of our active learning metric to gain a deeper understanding of our prediction results. To achieve this, we generate another payload and send a request directed at our active learning routine.
The response results show the average entropy value for each class. The entropy is a metric that provides a statistical measure for inter-class instance diversity or intra-image diversity, where higher values are preferred.
Filter Images with High Entropy
To select which are the best images to be uploaded to Nexus for re-training, we can apply a simple threshold to filter images that contain at least one class with high entropy values.
Upload Images & Predictions
We can upload both images and predictions to Nexus using Python SDK. As uploading large batches of images can take some time, we offer the `background` parameter to resume the execution of your script while uploading your images in the background. To learn more about advanced asset and annotation management functions, do check out our developer docs.
Re-Annotate Images (Optional)
You can choose to manually re-annotate certain images if you wish, using the following functions:
- datature.Asset.list(), to list all assets and obtain asset IDs,
- datature.Annotation.list(), to list all annotations of an asset based on the asset ID and obtain annotation IDs,
- datature.Annotation.create(), to create new annotations, and
- datature.Annotation.delete(), to delete existing annotations based on the annotation ID.
Start a Training Run
You can obtain the details of all workflows in your project and choose one based on the name. For this guide, we simply reuse the same workflow that was originally used to train our deployed model.
With the workflow ID, we can start a new training run with the new images and corresponding annotations. For more information on how to customize the training configuration, check out our developer docs.
Re-Deploy
Once the training run has successfully completed, you can re-execute the Export Artifact and Create Deployment sections above with your new artifact ID to deploy your newly-trained model. You can repeat this loop however many times you like to ensure that your model is robust towards new datasets.
Other Ways to Automate Your Pipeline
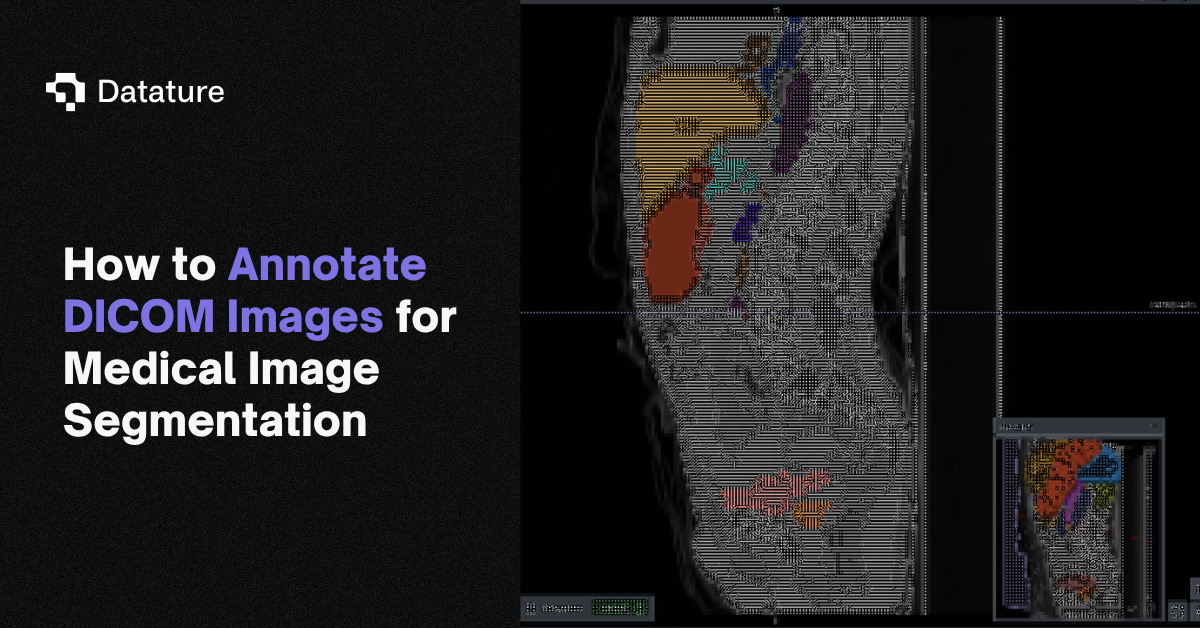
Despite the complex automated pipeline displayed above, the pipeline doesn’t show the full breadth of functionality that exists in our Python SDK and other developer tools. Our Python SDK contains other functions that allow you to interact with our Nexus platform programmatically and contain capabilities that developers or users from specific industry verticals might benefit from. For instance, asset upload through these developer tools facilitates file type compatibility with NiFTI and DICOM images, which are the industry standard file types for medical industries. The full extent of these functions can be found here.
Additionally, within our Python SDK package, we provide a Command-Line Interface (CLI) that runs natively in your terminal that allows for quick and easy access to the most common and essential functions that a user might want on hand such as asset upload and artifact download. To learn more about how you can make full use of this, do check out our CLI documentation.
Finally, if you want to utilize the capabilities of our Python SDK, but work with a codebase that doesn’t use Python, you can still access these functions using our Management API, which allows you to use any language that supports API requests to interact in the same ways that the Python SDK can. To see the types of routes that are available and what is required, you can learn more on our Management API documentation.
Our Developer’s Roadmap
Python SDK and Management API is just the first step in helping developers use Datature’s resources as efficiently and easily as possible. As the Nexus platform evolves, so too will the Management API and Python SDK functionality to continue to facilitate integration between user applications and their projects on Nexus, to make all interactions as efficient and clear as possible. We will be continuing to update and add more routes and functions!
Want to Get started?
If you have questions, feel free to join our Community Slack to post your questions or contact us about how the Python SDK and Management API fits in with your usage.
For more detailed information about the Python SDK and Management API functionality, customization options, or answers to any common questions you might have, read more about the annotation process on our Developer Portal.
.png)
.png)